Wednesday, May 29, 2013

A little bit of bang....

Here are just a few sweet, little Fourth of July things that I made for the store.  These were made using the new BoBunny line.
This was a cute little gift bag I made using a paper bag and again using my Lopptie Loop die from Papertrey Ink to make the bow and then I just cut straight pieces of the Star paper and placed them all around the bow.  I added some twine, burlap, and some felt with a little crystal button in the center and then just made a little tag to say Celebrate tucked inside the bow.
 
I then made a 12 x 12 layout using the same paper and embellishments that coordinated with the BoBunny paper.
 
 
I just love the Fourth of July and everything it stands for.  I hope you all have had a wonderful belated Memorial Day and are looking forward to a wonderful Fourth of July coming soon.  :)


Mother's Day Mason Jars

Hi all!  Well this year I got my little ones involved with making some Mother's Day gifts for all their gramma's.  We have 3 sets of them and the kids just love making things for them.  I actually saw this idea on pinterest and had to try it out since I love Mason Jars so much and I think they came out pretty cute and the kids loved making these.  I also added some tags with a sentiment on the backs of them in place of their cards.
 
I also added some coffee filter roses to the jars in place of real flowers..at least this way they won't die, right?  ha 
 
These little tags were also a lot of fun to make.  I just used various cardstock, some digital vintage clipart, lace, seam binding, some felt roses, and some little sparkly embellishments here and there and tied them around the tops of the jars.
 
 
I also created these little cones using a new Sizzix die called Cone, Faceted.  I then stuffed them with some shredded tissue paper and then added some fun stuff for all the gammies inside.  These were so fun to put together and I will be using this die quite frequently, I'm sure of it!
Sorry that these are a little hard to see so I will show you and individual shot of each one of them.  I just used some of my favorite cardstock as the cone shape and from there just embellished to my little hearts desire of whatever made me happy. 


Hope this inspires you to get busy and do some fun creating!


You Make Me Smile.....

Here are some cards I created using paper by American Crafts called Lucky Charms.  This is such a sweet paper line.  I used to create some Valentine's Day cards for the local scrapbooking store that I currently design for.  So here they are....
 
Again, the little chipboard jar stickers and other embellishments that came with this line are so, so cute and sweet.

 
On this card "THIS IS MY HAPPY PLACE" is one of the chipboard stickers along with the little chevrons going down along side the card.  Cute, right?  I added some heart pins and my seam binding and a heart button in the center. 


This last little card reminds of my little ones since I used to sing this song to them we they were little babies, that are no longer babies but to me they will always be my little ones.  This just brings a smile to my face when I see it.  Enjoy!


Teacher Appreciation Week Explosion Box

Hi bloggers, well, once again some time has passed and everytime it seems that I want to sit down a post the fun things that I want to share with you all something always seems to come up.  Oh well, I'm still going to try to post more often but in the meantime...here is another Explosion Box that I created for my son's 2nd grade teacher this year at school.  I just loved the paper line that was used.  It was Authentique's "Curiousity" line and loved it so much.  It couldn't of been a better fit for the occasion. :)  Anyways, here are some pics.
 

The embellishments that came with the paper line were adorable as well.  The bow I created using the Looptie Loop die by Papertrey Ink.  I think thats the name of it, anyways, I love it. I've used it for many occasion!
I had a chain link that I got at Michael's and added some little addition cards, numbers and some other little trinkets that meant something to the teacher, ie-grade, teachers name, date that kind of thing.
I again used some seam binding, a decorative edge border punch, stickers, and tag embellishments for the inside of the box that all realated to teacher stuff. 
I also created a gift card holder and inserted and gift card inside the box as well as another little thank you for all she has done and what a wonderful and loving teacher she is.
 
Thanks for stopping in and checking this out.  I have lots more to share with you.  This will be the post of all posts since I am going to do it all at once from months past and present...hahah


Saturday, February 9, 2013

Valentine Goodie Bags...

Hi all, here are a few goodie bags that I made for some friends of mine for Valentine's Day.  I couldn't resist since they are too cute.  I made them using the Tim Holtz "In the Bag" die cut from Sizzix.  On the front of each of the goodie bags I just applied some patterned paper from "Glitz" and the cute little Valentine images on the front I printed off the computer.  I then just embellished them with some vintage lace, bakers twine, pearls and some hearts.  Now all there is to do is to fill them will sweet little Valentine's candies.
  The enamel number 14 is from Tim Holtz strung around with some bakers twine and the "forever" sentiment is a sticker that is also from Tim Holtz. I used a heart punch at the bottom and just stitched the center with the sewing machine and added some pearls.
The little tabs are from Papertrey Ink that I attached to the top of the Valentine image with the sewing machine and again added a little sticker sentiment to the center.  Wrapped some bakers twine around and added a little heart to the center of the bow.  The little key holes are from Melissa Frances.

Have a great weekend!!!

Friday, February 8, 2013

Love is in the air...

Well here I am again and this time I have some Valentine's for you all.  I have missed my blog and creating things to post but it is nice to know that I can always come back to it when the time allows.  So I have created a few little Valentine's goodies that I hope you will enjoy.  I know that Valentine's is just around the corner but I just had to post the few things that I did create just because of how much I love this day.  I've created some cards using the Glitz "Hello Friend" paper line along with their embellishments that coordinate.  I cannot tell you enough how much I just love this paper line.  Everything about it is yummy... :)

I used their cardstock and epoxy stickers, some washi tape, hand dyed seam binding, some lace, pearls and from a pale pink shade of vellum punched out some butterflies using a Martha Stewart punch.  Added a tag with a little sentiment and tied it with some twine and sweet little felt heart.
With this next card I simply took an embossing template and embossed the front of the card.  I then added my tag in the center that I downoladed online and just added some embellishments using a Papertery Ink die at the bottom of the tag, added some pearls and seam binding, a little twine and some washi tape and there you have it. The little bottle cap I made myself.
The next card uses the same paper with again some Papertrey Ink border dies, some heart dies also from Papertrey Ink, my sewing machine and some felt. I added some seam binding, pearls and a sweet sentiment at the bottom attached to a Maya Road heart pin.  The 14 sticker is from Glitz as well.


This next card uses again the Glitz paper along with the sentiment epoxy stickers.  The tulle is from Melissa Frances and the chipboard pieces are from the Glitz line.  I used some more felt hearts, a Maya Road pin, some seam binding and another little bottle cap in the center of the bow.


This last card uses again the same papers along with a Papertrey Ink heart border die.  I also used a heart doily and then used another printable that I found on line.  I added a felt heart, some seam binding and attached a fabric rose to the center with another Maya Road pin.  The sentiment on the tag is a stamp that is also from Papertrey Ink.


Hope you have a great night!

It's time for tea...

Hi bloggers, well it has been some time since my last posting.  I have had many a things going on in my life just as we all do and find myself trying to cherish each and every day I have and not take the things that I have nor the people that I love and have in my life for granted.   Life takes on many changes that a lot of us never think will ever happen to us or the ones we love but it does and it just makes you stop and think about how precious life is.  So I have taken some time away for a bit to just sit back and take one day at a time and value everything around me and what's in it.

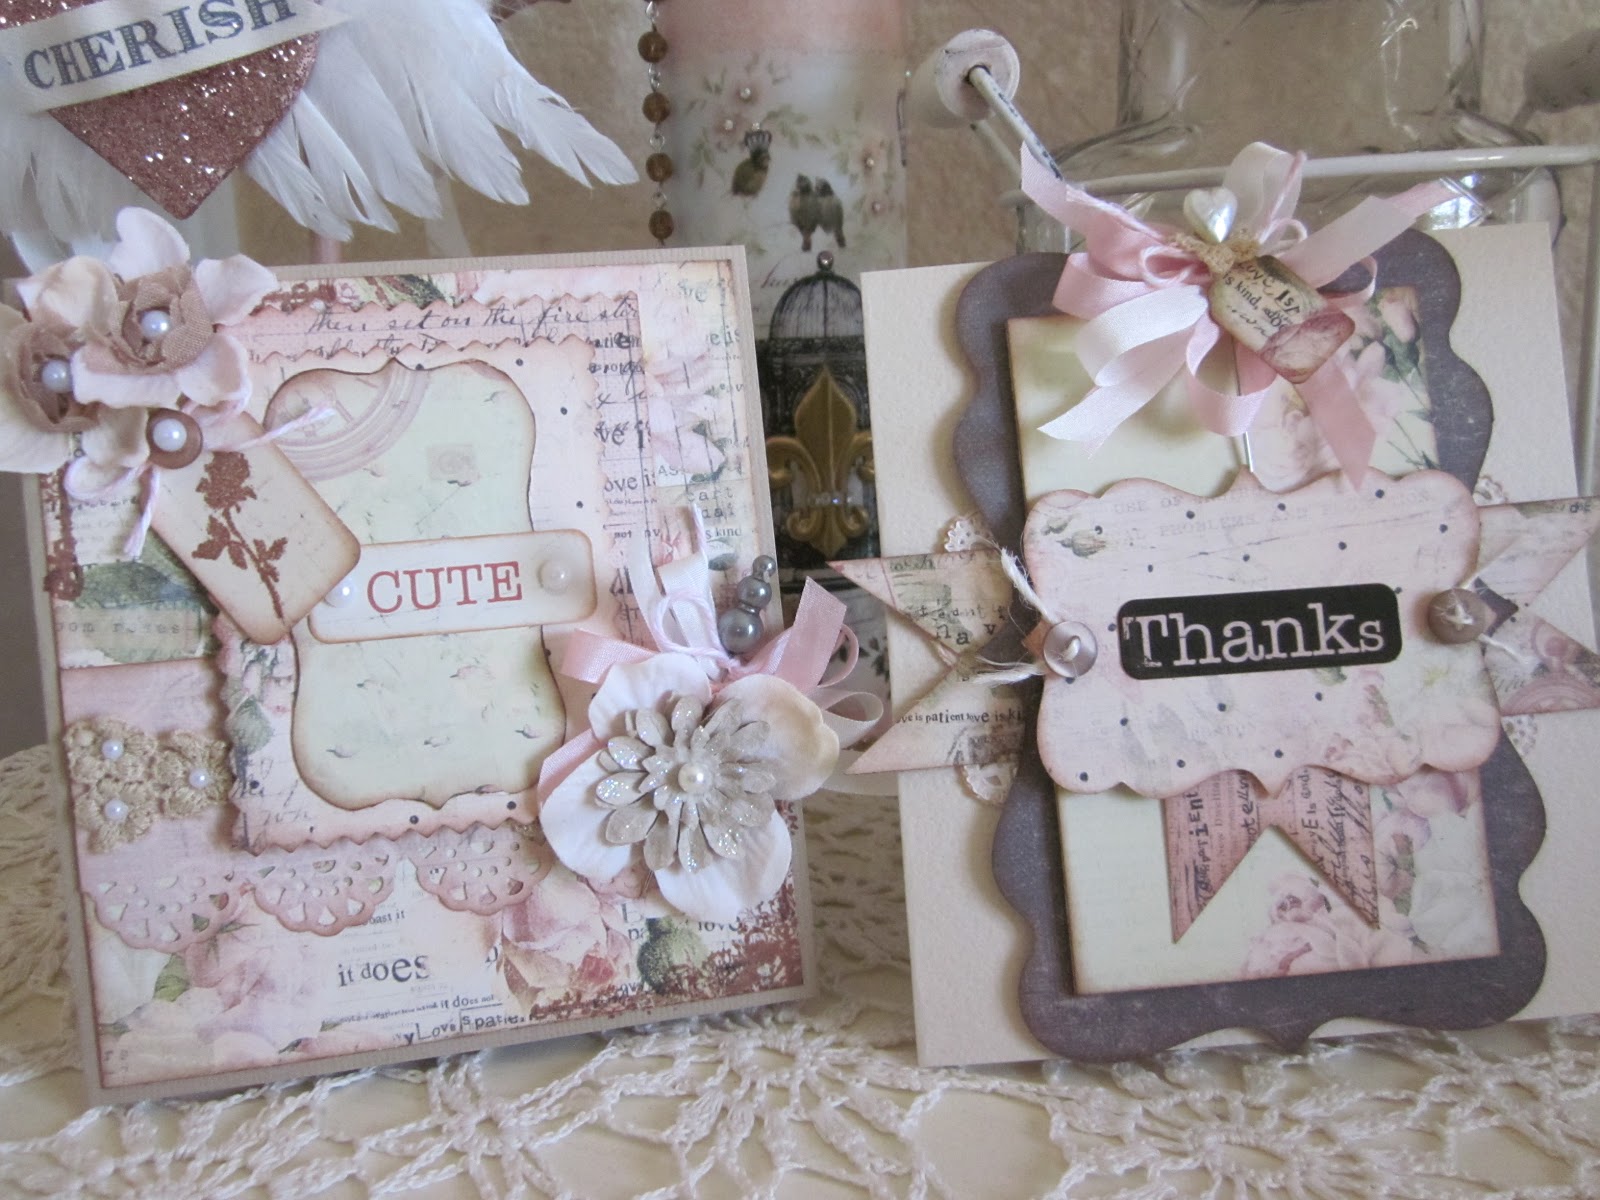
So here I am to post a few things that I had worked on but didn't get the chance to post and of course some last minute Valentine cards and gift bags that I just had to share since I just adore Valentine's Day and everything about it.  So with all that being said, here are some cards that I did a while back using the Prima Tea Thyme paper line.  There is no way I wasn't going to be hoarding some of this stuff...are you kidding!!  How can you not love this paper???  My oh my!  So here is the first card I used with coordinating cardstock and everything Tea Thyme, even the name is adorable!  :)


With these two cards I used the Tea Thyme paper, Martha Stewart border punch and a tag punch that I am not sure from where. With the flowers I just took a glue pen along the edges and then added glitter to them to make them stand out and of course nothing would be complete with out some pearls added here and there and some seam binding.  The straight pins are from Maya Road.

On this card I used some of the Papertrey Ink die cuts, some buttons, twine, seam binding and of course some pearls and inked the edges with Chestnut Roan Chalk Ink.  The "Thanks" sentiment is from the paper line as well.

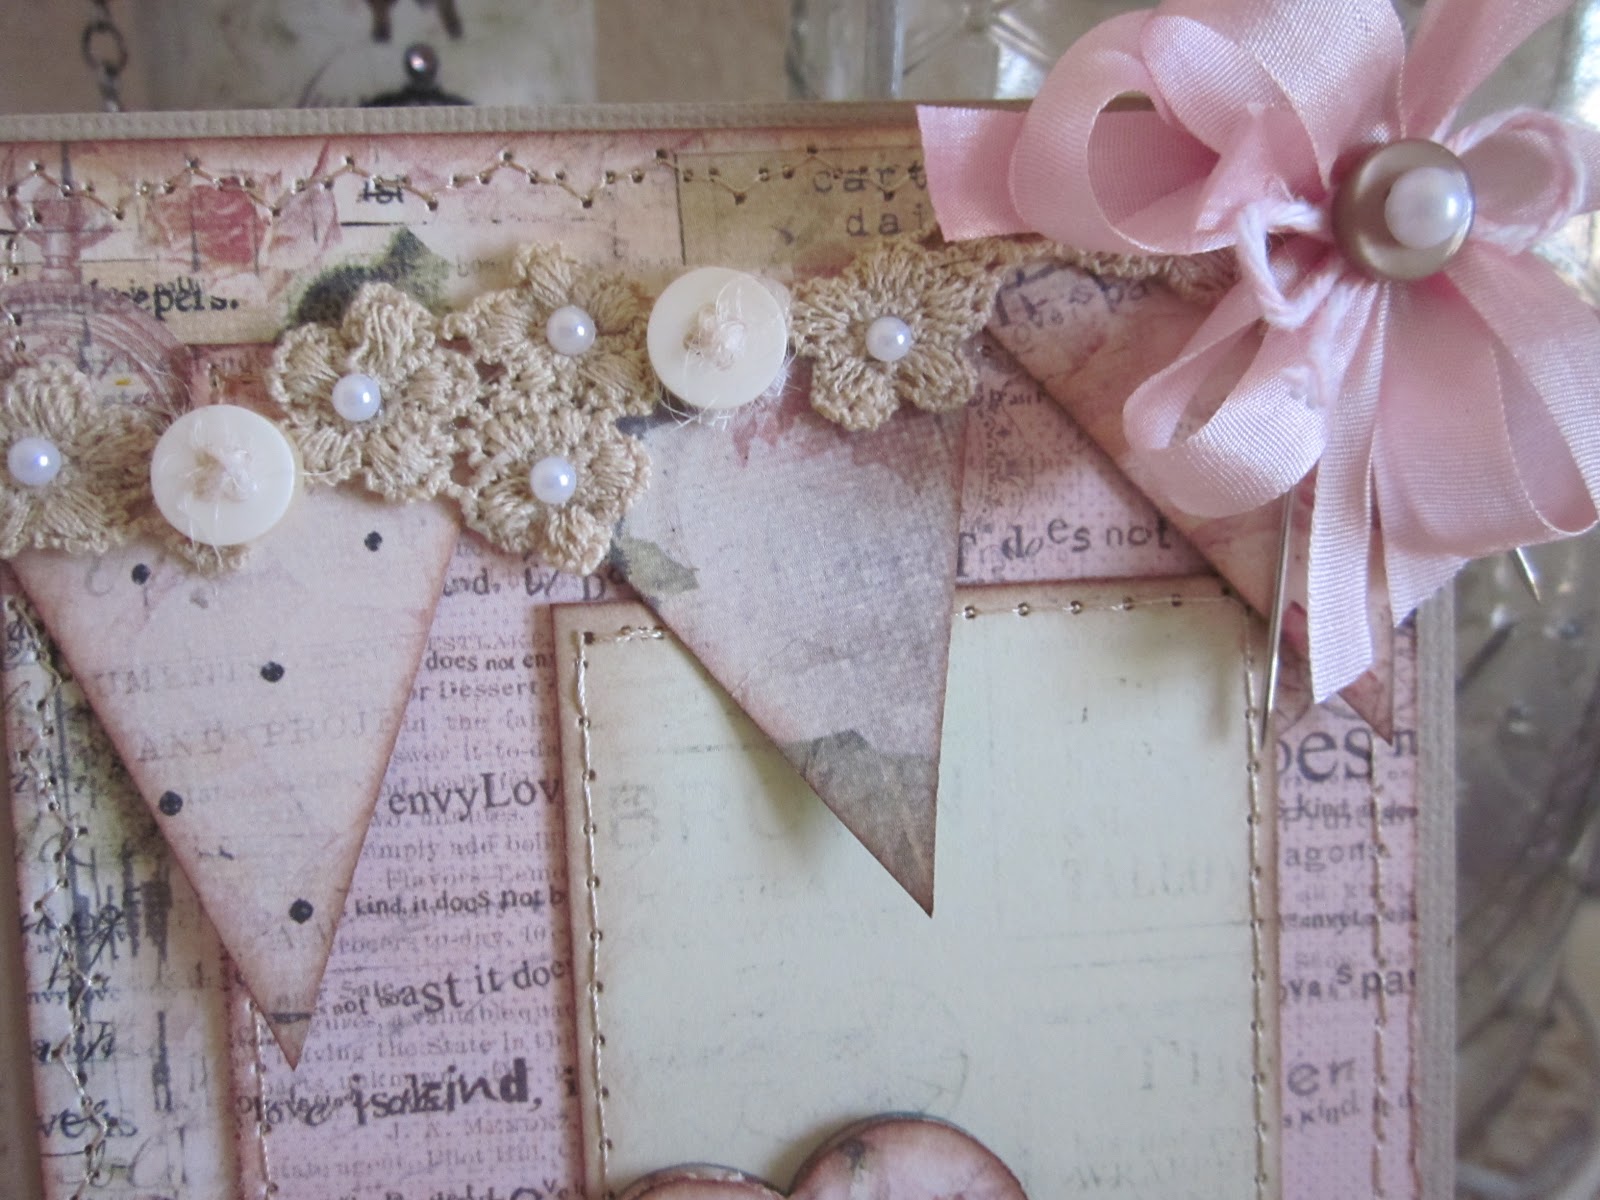
These next two cards are also using the same paper line and some of the Tea Thyme chipbaord embellishments.  Using the Tea Thyme paper I cut out the banner on the one card and also just simply cut traingles to make my banner on the other card.  Used my sewing machine to stitch around the edges and embellished it with lots of goodies.

The lace flower trim is from Maya Road and the stamped sentiment is from Crafty Secrets. And the Happy Birthday sentiment is from the Prima Tea Thyme line.


The last card uses a simple doily and again the papers from Tea Thyme stitched around the edges.  The jar in the center is from Papertrey Ink.  The heart and the circles are just using a simple punch and the sentiment inside the heart is from Prima as well.  Add a little glitter with some buttons and bakers twine and you have a sweet little card for any occasion.